A leaky faucet can be more than a nuisance—it wastes water and money. Repairing it quickly and effectively depends on identifying the problem, gathering the right tools, and knowing how to proceed.
Key Takeaways
- Identify the Faucet Type: Being aware of any compressions you may have, disc, cartridge, or mechanism faucet is crucial for effective repair.
- Gather the Right Tools: A tabletop vice, silicone lubricant, pliers, wrenches, and the correct O-rings and washers are essential.
- Inspect Key Components: Check and replace damaged washers, O-rings, or valve seats to fix leaks.
- Handle with Care: Avoid damaging faucet parts to prevent further issues.
- Seek Professional Help When Needed: Consult a plumber if repairs become too complex.
Understanding the Root Cause of a Leaky Faucet
Faucets leak when components like washers, O-rings, or valve seats wear out over time. The repair process will depend on the type of faucet—compression, disc, cartridge, or mechanism.
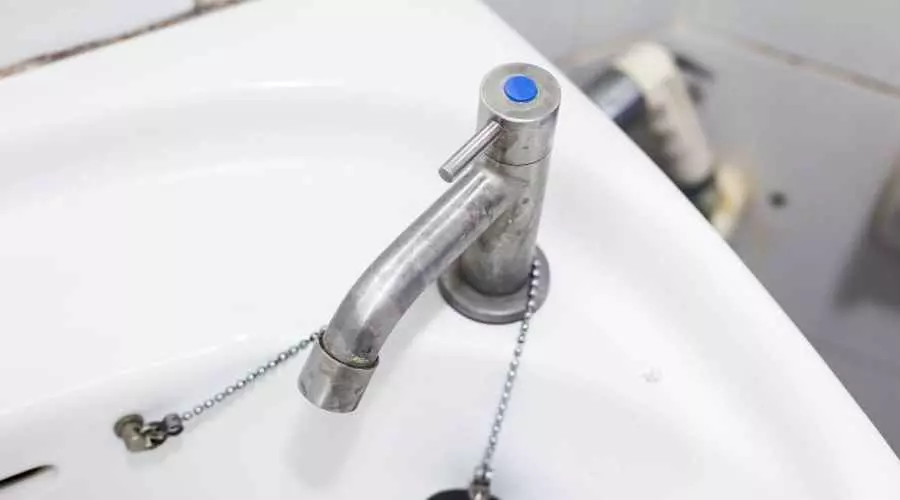
Identifying the Faucet Type
- Compression Faucets: The hot and cold handles on them are distinct. each requiring a distinct valve.
- Disc Faucets: Known for their durability, these feature a single lever that controls temperature and flow.
- Cartridge Faucets: Common in modern homes, these have a cylindrical cartridge that controls water flow.
- Mechanism Faucets: These are less common and use unique internal designs for water control.
Identifying the type is the first step toward an effective repair.
Tools and Materials for the Job
Having the right tools at hand ensures a smoother repair process. You’ll need:
- A tabletop vice or grip is used to hold components.
- Silicone lubricant to ease movement.
- Pliers or wrenches for gripping and turning.
- A set of new O-rings and washers, ideally from a reputable supplier.
Step-by-Step Guide to Fixing a Leaky Faucet
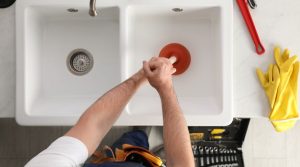
- Turn Off the Water Supply
Find and close the main water valve to avoid flooding while you work.
- Disassemble the Faucet
- Remove decorative covers or trims using a screwdriver.
- Unscrew the handle gently to avoid damaging the threads.
- Use WD-40 if the handle is stuck.
- Inspect the Components
- Look for damaged washers, O-rings, or valve seats.
- Replace these components as needed.
- Remove and Replace the Cartridge (if applicable)
- Use pliers to extract the cartridge.
- If it’s stuck, slightly wiggle it or use a cartridge removal tool.
- Reassemble the Faucet
Ensure all components are securely in place.
- Test the Repair
Turn the water supply back on and check for leaks. If the problem persists, consider seeking professional assistance.
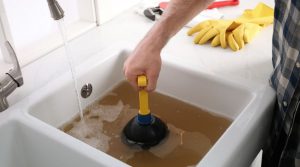
Common Challenges and Solutions
- Stuck Handles or Cartridges: Use WD-40 or a specialized removal tool to loosen components.
- Damaged Valve Seats: Rust or grime buildup may require thorough cleaning or replacement.
- Finding the Right O-Ring: Take the damaged O-ring to a hardware store for a precise match.
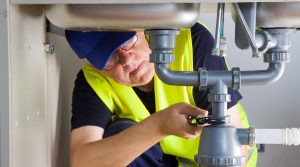
When to Call a Plumber
If your efforts don’t resolve the issue, the problem might be more complex, such as faulty plumbing or severe corrosion. Professional plumbers have the tools and expertise to handle these situations.
FAQ
Q: How do I identify the type of faucet I have?
A: Look for distinguishing features, such as the number of handles and how they operate. Separate hot and cold knobs are seen on compression faucets, however cartridge faucets have a single handle and a smooth motion.
Q: Can I fix a leaky faucet without turning off the water supply?
A: Turning off the water supply is essential to prevent flooding during repairs.
Q: Why is my faucet still leaking after replacing the washer?
A: The valve seat or O-ring might also be damaged. Inspect these components and replace them if necessary.
Q: How often should I replace faucet components?
A: Components like washers and O-rings typically last several years, but frequent use or poor water quality can shorten their lifespan.
Q: Is repairing an old faucet worth replacing or replacing it?
A: If the faucet is over 25 years old or severely corroded, replacement might be more cost-effective.
Conclusion
Fixing a leaky faucet requires identifying the problem, assembling the appropriate equipment and taking a methodical approach. While most repairs can be completed with basic DIY skills, don’t hesitate to call a professional if you encounter challenges. Addressing leaks promptly saves water, reduces costs, and prevents further damage.CBJ Plumbers has established a reputation for expertise in resolving all types of plumbing issues. Our team consists of reliable, licensed plumbers proudly serving New Jersey. We are committed to continuously improving our services and maintaining the highest standards for both residential and commercial properties. At CBJ Plumbers, we’re always ready to assist you. Don’t hesitate—call us today!